Scrub Hat Sewing Pattern
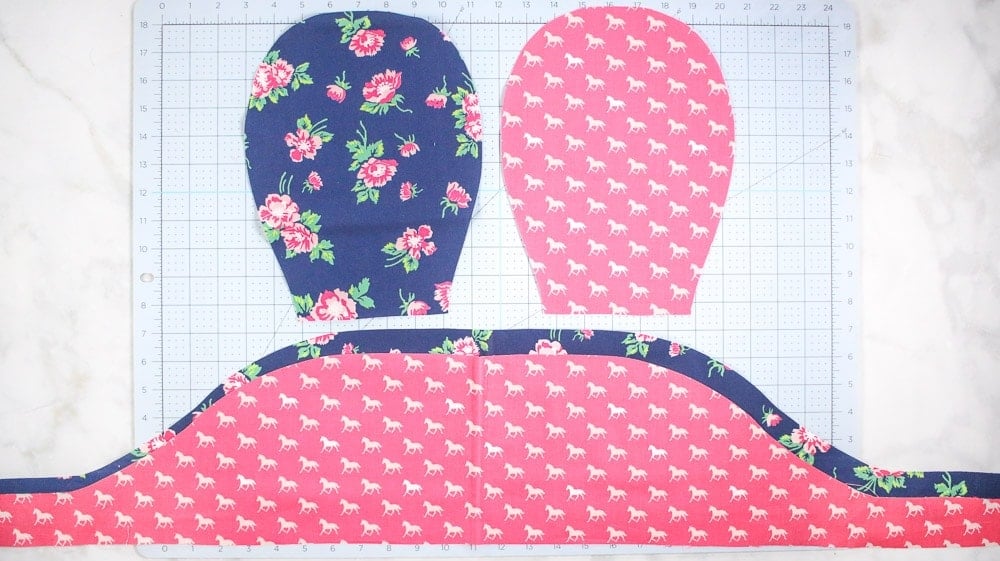
Scrub Hat Sewing Pattern - Web let’s get to use the surgical cap sewing pattern! Lay out two pieces of fabric in front of you. Using a straight stitch first sew straight edge of the cap top, then sew both pieces together all the way around the curved part. With right sides together, sew one 2”. Choose from 32 diy surgical caps to sew. Cut along the black line on both pattern pieces. Clip seam allowance along the top of the hat and trim to 1/8″. Looking for a surgical or scrub cap pattern? Align the edges marked with a dashed line on the pattern, first pin the centre and side notches then continue all around. Bouffant scrub hat with elastic ‘head and hair’ also has a. Cut out pattern & fabric for your scrub cap. Learn how to make a. Web 32 diy scrub cap patterns, surgical caps or scrub hat patterns. Web fabrics cut for the scrub cap. Choose from 32 diy surgical caps to sew. Align the edges marked with a dashed line on the pattern, first pin the centre and side notches then continue all around. Web make sure to transfer all the notches. Web let’s get to use the surgical cap sewing pattern! Clip seam allowance along the top of the hat and trim to 1/8″. Web it’s a bouffant scrub hat sewing pattern with a downloadable pdf file you can buy for $4.00 on etsy. Cut along the black line on both pattern pieces. Web fabrics cut for the scrub cap. Web the norma scrub hat sewing pattern makes a more fitted pixie style scrub cap that either ties in back at your neck or you can wrap the ties around a small bun. Web make sure to transfer all the notches. Web it’s a. Turn main inside out and lining right side out. Web 32 diy scrub cap patterns, surgical caps or scrub hat patterns. Web the norma scrub hat sewing pattern makes a more fitted pixie style scrub cap that either ties in back at your neck or you can wrap the ties around a small bun. Web let’s get to use the. Web the norma scrub hat sewing pattern makes a more fitted pixie style scrub cap that either ties in back at your neck or you can wrap the ties around a small bun. Choose from 32 diy surgical caps to sew. Web 32 diy scrub cap patterns, surgical caps or scrub hat patterns. Web fabrics cut for the scrub cap.. Bouffant scrub hat with elastic ‘head and hair’ also has a. Web fabrics cut for the scrub cap. Sew both cap parts together. Choose from 32 diy surgical caps to sew. Clip seam allowance along the top of the hat and trim to 1/8″. Web it’s a bouffant scrub hat sewing pattern with a downloadable pdf file you can buy for $4.00 on etsy. Clip seam allowance along the top of the hat and trim to 1/8″. Web 32 diy scrub cap patterns, surgical caps or scrub hat patterns. Choose from 32 diy surgical caps to sew. The simplifi fabric scrub cap is beautifully. Web let’s get to use the surgical cap sewing pattern! Looking for a surgical or scrub cap pattern? The simplifi fabric scrub cap is beautifully constructed, and unlike most patterns is one layer so it’s cooler for the wearer and has a durable band for. Align the edges marked with a dashed line on the pattern, first pin the centre. Learn how to make a. Web it’s a bouffant scrub hat sewing pattern with a downloadable pdf file you can buy for $4.00 on etsy. Looking for a surgical or scrub cap pattern? Web let’s get to use the surgical cap sewing pattern! Clip seam allowance along the top of the hat and trim to 1/8″. The simplifi fabric scrub cap is beautifully constructed, and unlike most patterns is one layer so it’s cooler for the wearer and has a durable band for. Web let’s get to use the surgical cap sewing pattern! Looking for a surgical or scrub cap pattern? Web it’s a bouffant scrub hat sewing pattern with a downloadable pdf file you can. Sew both cap parts together. Turn main inside out and lining right side out. Learn how to make a. Align the edges marked with a dashed line on the pattern, first pin the centre and side notches then continue all around. Choose from 32 diy surgical caps to sew. Web 32 diy scrub cap patterns, surgical caps or scrub hat patterns. Using a straight stitch first sew straight edge of the cap top, then sew both pieces together all the way around the curved part. With right sides together, sew one 2”. Cut along the black line on both pattern pieces. Web let’s get to use the surgical cap. Learn how to make a. With right sides together, sew one 2”. Web let’s get to use the surgical cap sewing pattern! Choose from 32 diy surgical caps to sew. Turn main inside out and lining right side out. Web 32 diy scrub cap patterns, surgical caps or scrub hat patterns. Web it’s a bouffant scrub hat sewing pattern with a downloadable pdf file you can buy for $4.00 on etsy. Looking for a surgical or scrub cap pattern? Using a straight stitch first sew straight edge of the cap top, then sew both pieces together all the way around the curved part. Bouffant scrub hat with elastic ‘head and hair’ also has a. Web make sure to transfer all the notches. Cut along the black line on both pattern pieces. The simplifi fabric scrub cap is beautifully constructed, and unlike most patterns is one layer so it’s cooler for the wearer and has a durable band for. Cut out pattern & fabric for your scrub cap. Web the norma scrub hat sewing pattern makes a more fitted pixie style scrub cap that either ties in back at your neck or you can wrap the ties around a small bun. Web fabrics cut for the scrub cap.
Scrub Cap Patterns FREE PATTERNS

Scrub Hat SEWING PATTERN, Surgical Cap sewing pattern, scrub cap sewing

Free Scrub Cap Sewing Pattern / Bouffant Surgical Cap Pattern Scrub
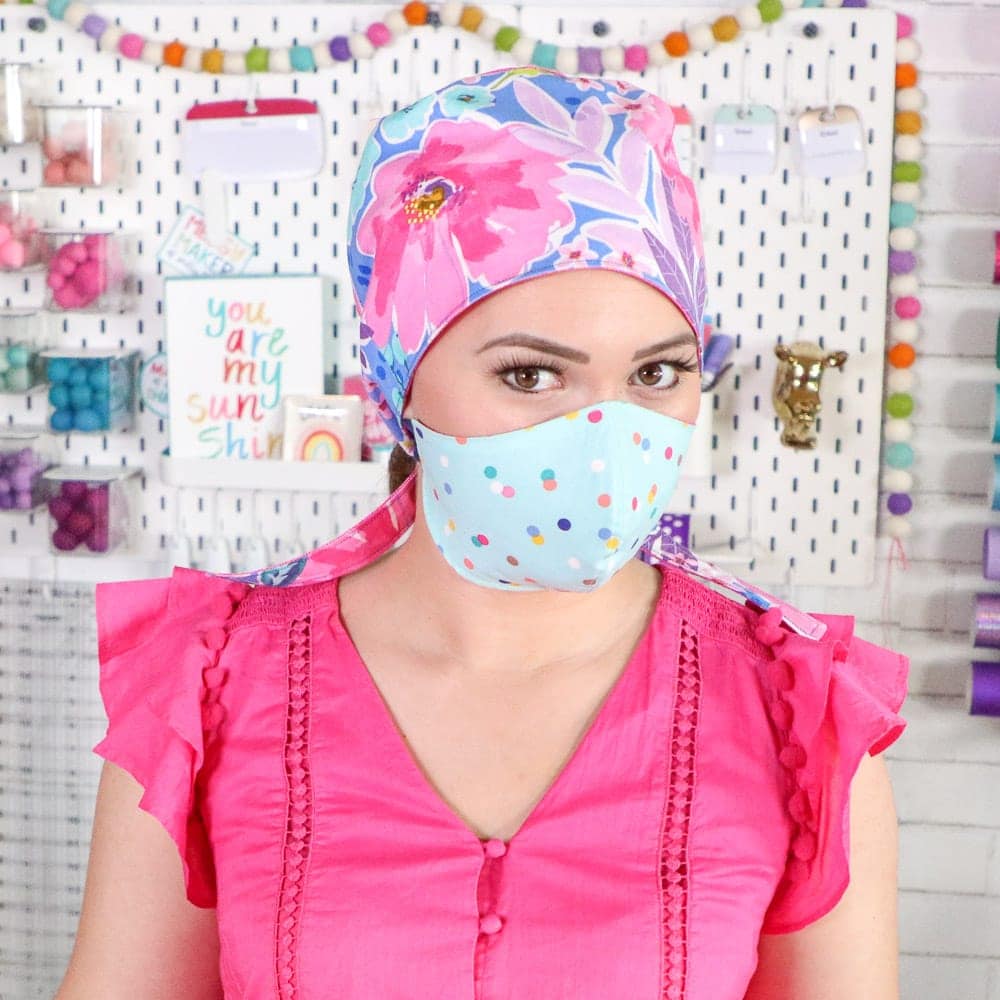
How to Make a Scrub Cap FREE Sewing Pattern Sweet Red Poppy
How to Make a Scrub Cap FREE Sewing Pattern Sweet Red Poppy

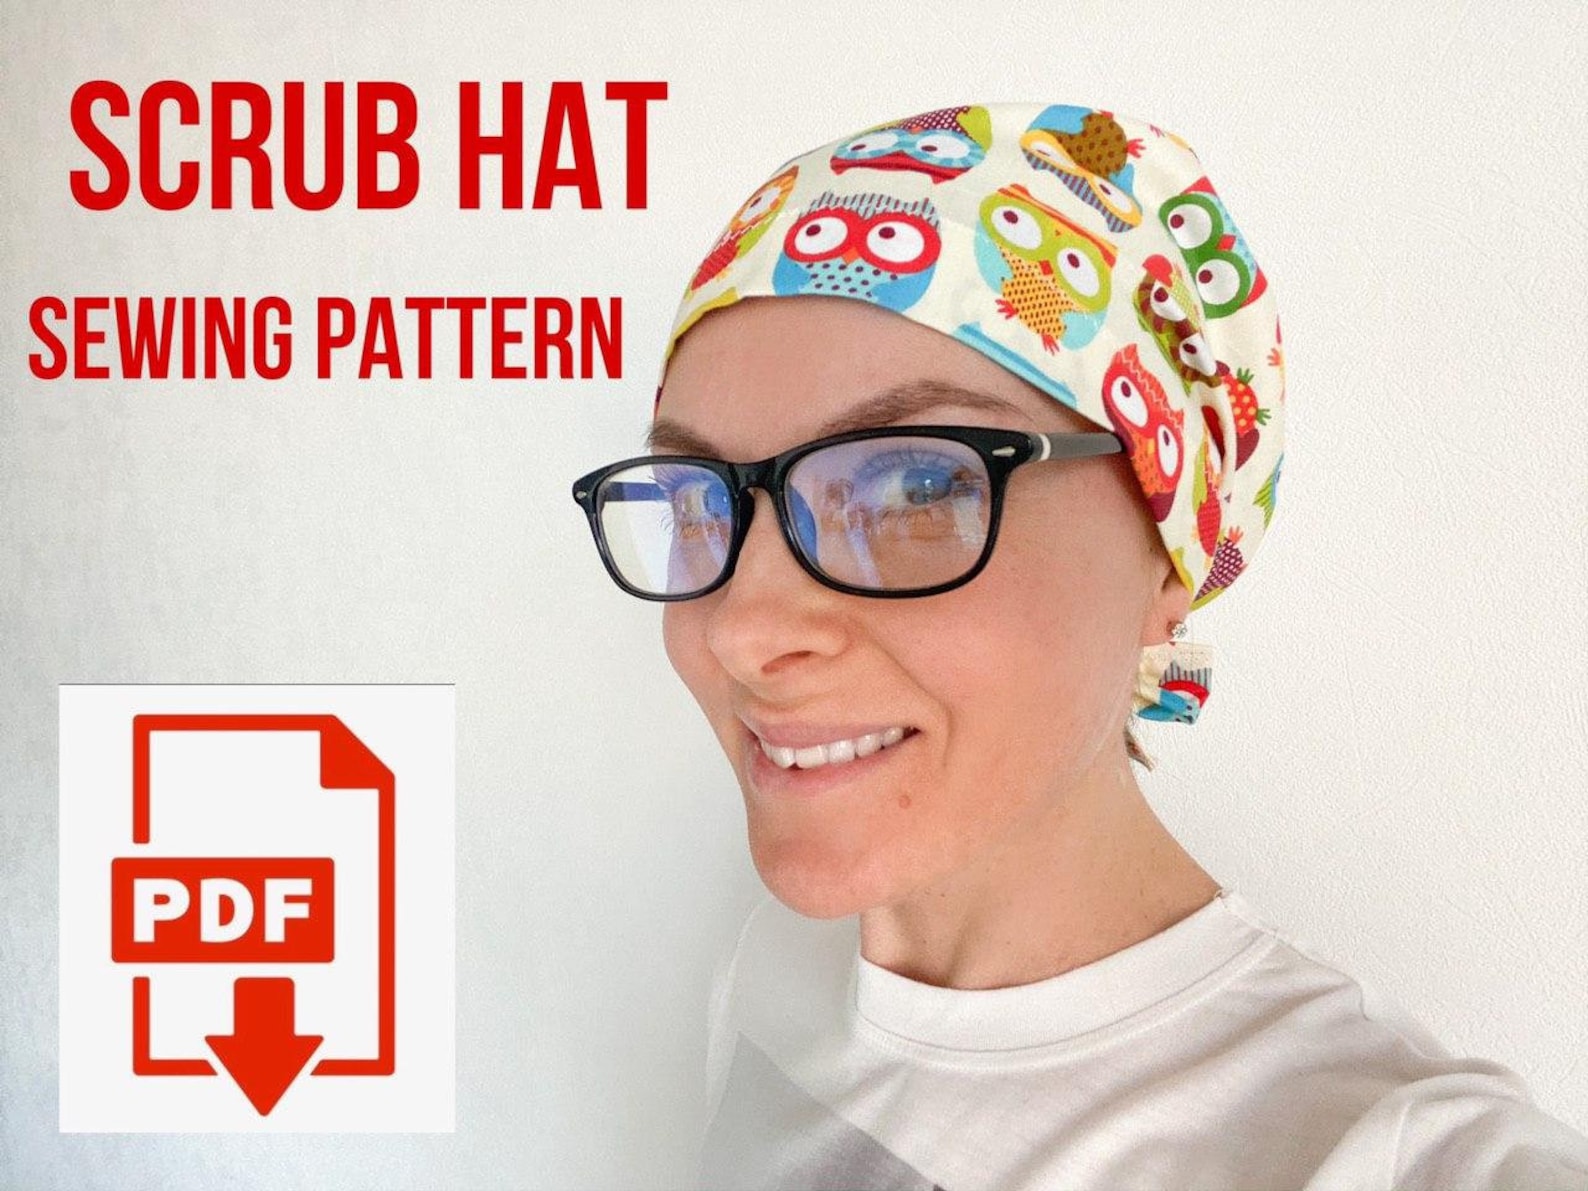
Scrub Cap SEWING PATTERN PDF Surgical Cap Sewing Pattern Etsy
Scrub Cap Pattern Style1 Printable Scrub Hat Sewing Pattern Etsy Canada

Scrub Cap SEWING PATTERN No Elastic PDF, Surgical Cap Pattern, Scrub

Free Scrub Cap Patterns That Sewing Life

Scrub Cap Printable Pattern Without Bias Tape and Without Hair Pouch
Lay Out Two Pieces Of Fabric In Front Of You.
Sew Both Cap Parts Together.
Clip Seam Allowance Along The Top Of The Hat And Trim To 1/8″.
Align The Edges Marked With A Dashed Line On The Pattern, First Pin The Centre And Side Notches Then Continue All Around.
Related Post: